Using images with Paragraphs with media
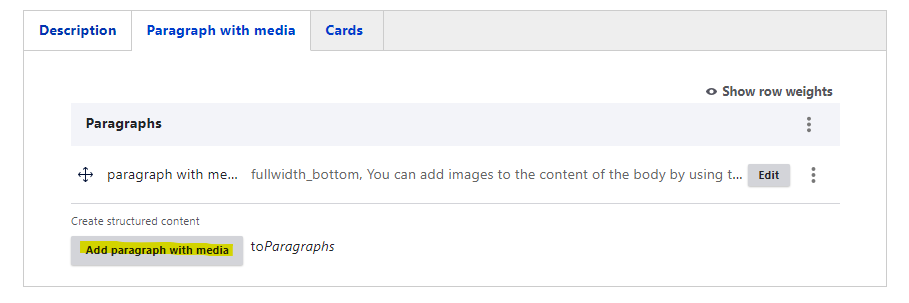
Adding a paragraph with media
You can add images to the content of the body by using the 'paragraph with media' function. This function allows you to place images above, below or alongside the paragraphs you have written. A page can contain multiple paragraphs but each paragraph can only contain one media item per paragraph.

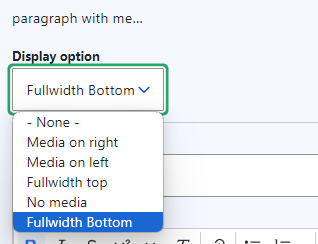
Display options
Once you have added the paragraph with media you can select the display option. You can choose to display media on right, or left as a small image or above or below the paragraph in full width. Finally, if you have no media to display you can select none.
Note: if the display option of '- None -' is selected the paragraph will not display at all.

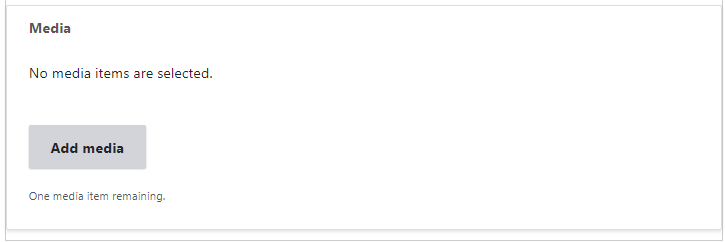
Adding the media
After you have entered your paragraph (optional) and selected the display option you can upload the image under the media box. Please note that you will be required to add 'alternative text' for any new images you upload.
For guidelines on making use of accessible images and how to write alternative text, please review the below resource:
https://www.accede-web.com/en/guidelines/editorial/make-images-accessible/

Adjusting the focal point
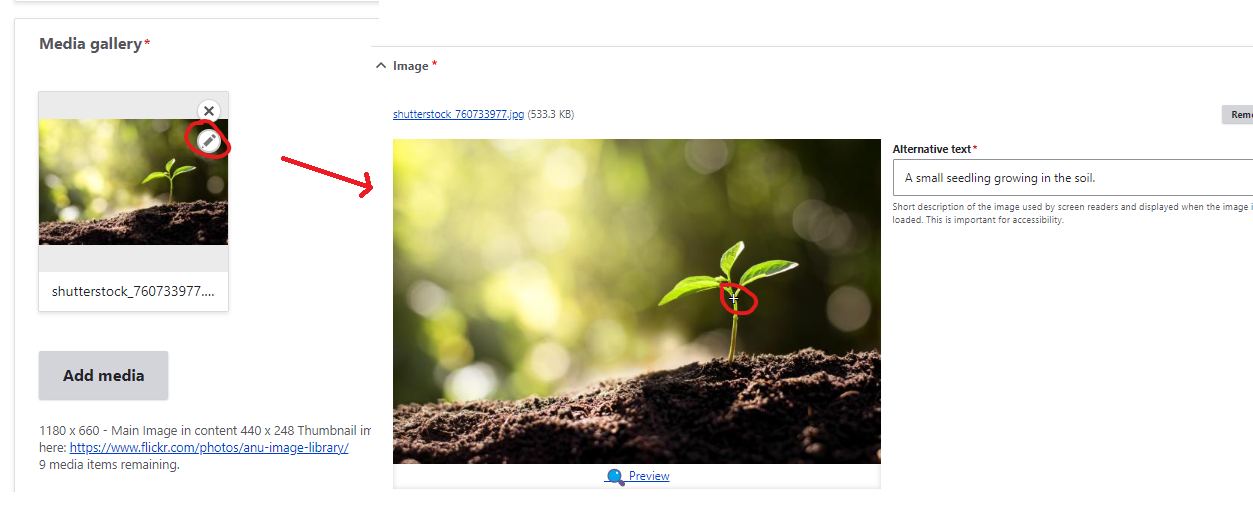
As the images will be rendered in a standardised format sometimes it will lead to the images being cropped. By default the image will focus on the centre of the image but you can manually set the focal point as well by clicking the pencil icon on the image when you edit the page. This allows you to set the focal point on someone's face for example.
In the image below you can see the pencil on the image on the left (circled) and the white crosshair (circled) on the right which is where the focal point has been set for that image.